1#CI/CD
#CI- The "CI" in CI/CD always refers to continuous integration, which is an automation process for developers.
-Successful CI means new code changes to an app are regularly built, tested, and merged to a shared repository.
-It’s a solution to the problem of having too many branches of an app in development at once that might conflict with each other.
#CD- The "CD" in CI/CD refers to continuous delivery and/or continuous deployment, which are related concepts that sometimes get used interchangeably.
-Both are about automating further stages of the pipeline, but they’re sometimes used separately to illustrate just how much automation is happening.
2#What Is a Build Job
\=Build jobs are the basic currency of a Continuous Integration server.
-A build job is a particular way of compiling, testing, packaging, deploying or otherwise doing something with your project.
-A Jenkins build job contains the configuration for automating a specific task or step in the application building process. These tasks include gathering dependencies, compiling, archiving, or transforming code, and testing and deploying code in different environments.
-Jenkins supports several types of build jobs, such as freestyle projects, pipelines, multi-configuration projects, folders, multibranch pipelines, and organization folders.
3. What is Freestyle Projects ??
A freestyle project in Jenkins is a type of project that allows you to build, test, and deploy software using a variety of different options and configurations
#TASK-1-
-create an agent for your app. ( which you deployed from docker in the earlier task)
-Create a new Jenkins freestyle project for your app. -In the "Build" section of the project, add a build step to run the "docker build" command to build the image for the container. -Add a second step to run the "docker run" command to start a container using the image created in step 3.
(1). Log into Jenkins and navigate to the main dashboard.

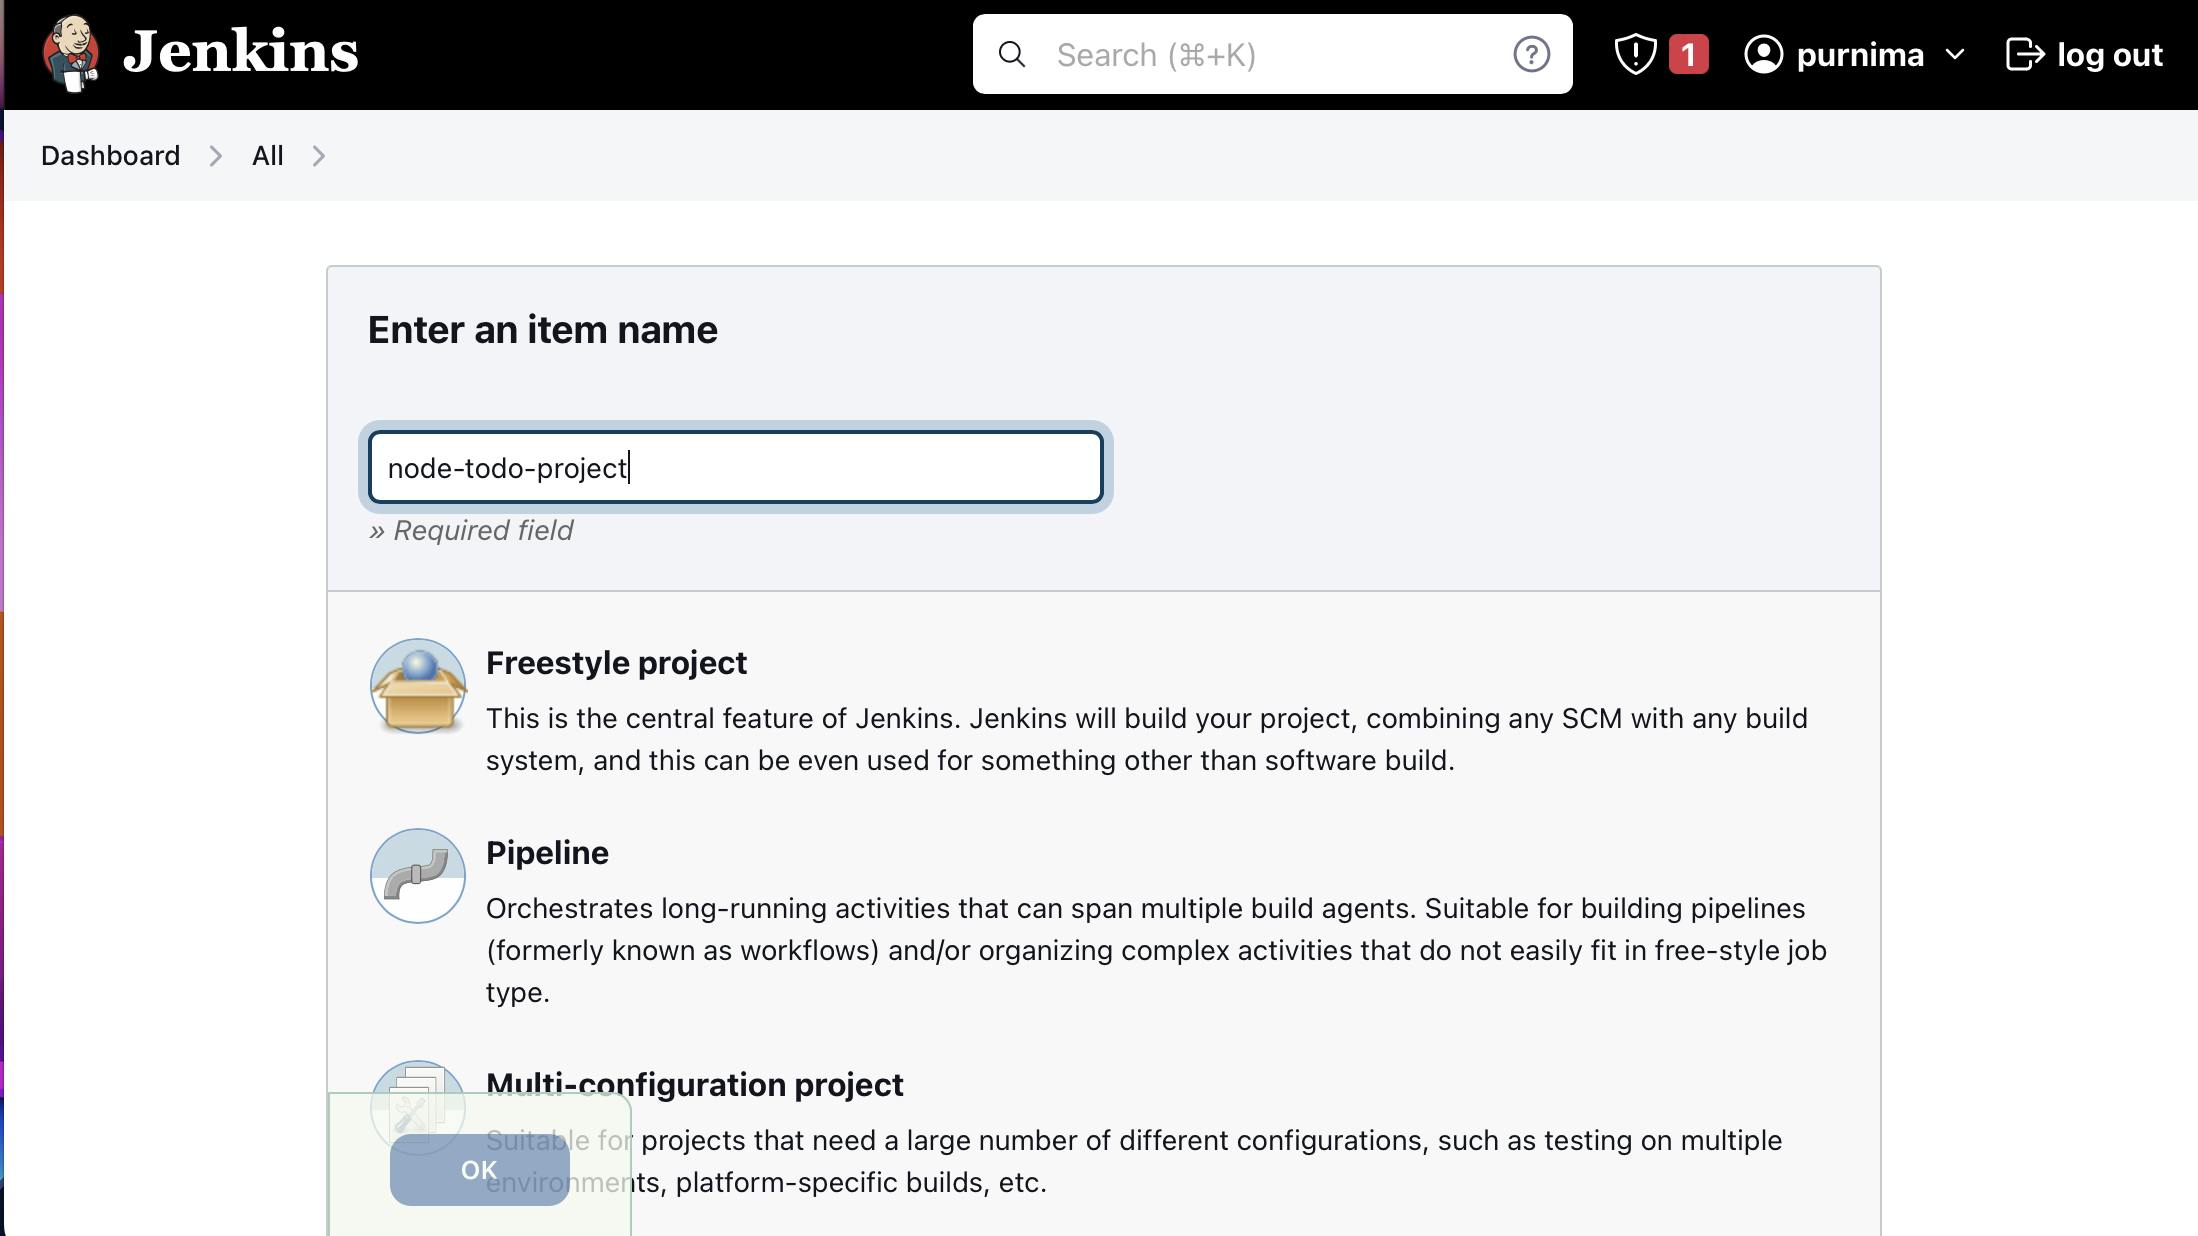
(2). Click on the "New Item" button to create a new project.
(3). Select "Freestyle project" and give the project a name.

(4). Click on the "OK" button to create the project.
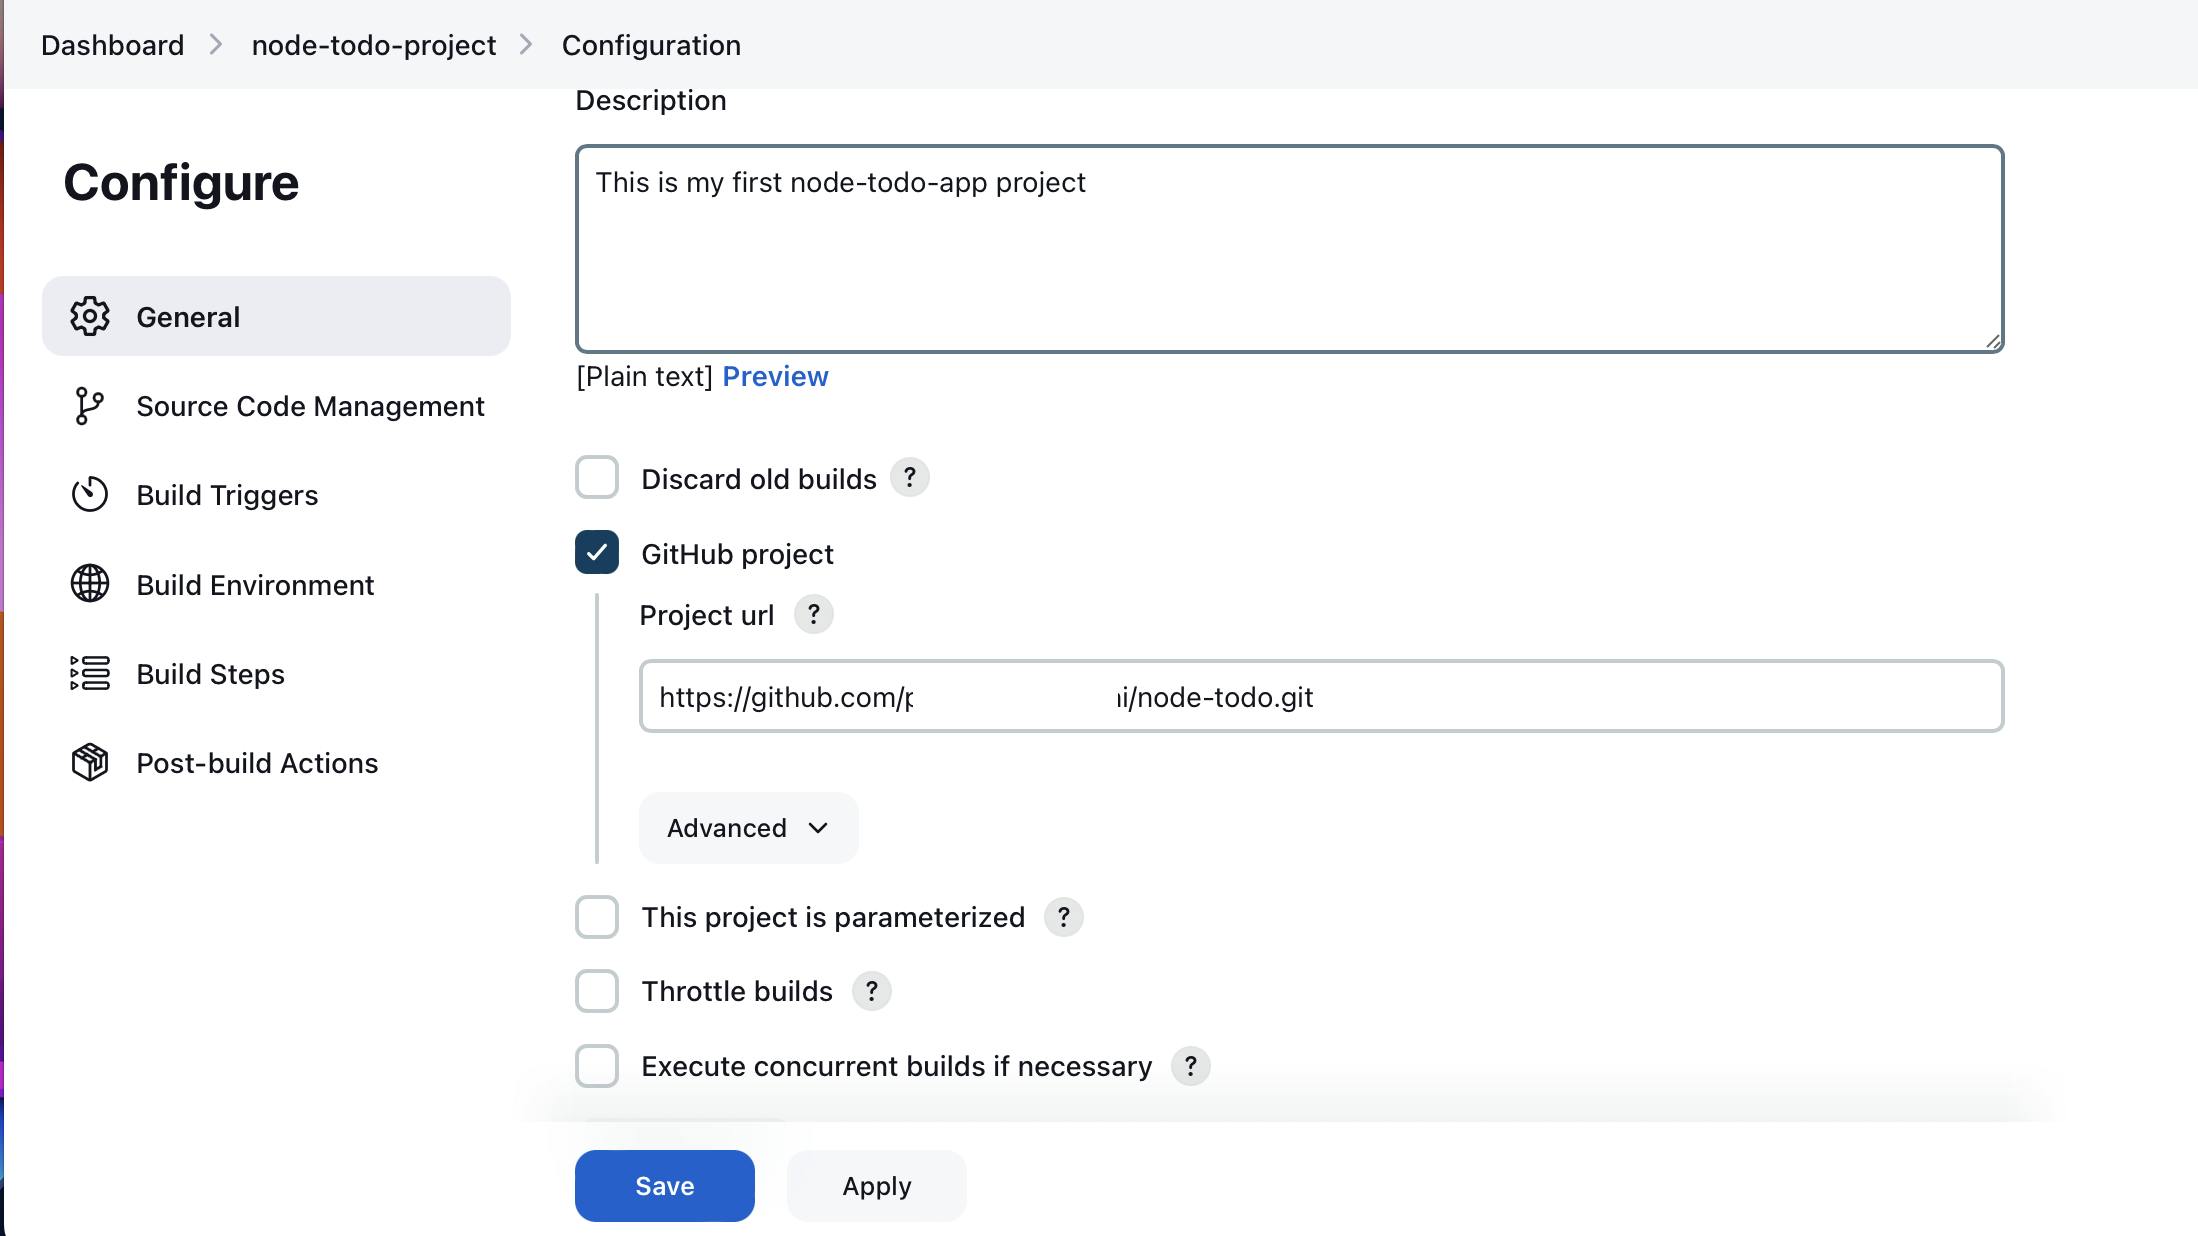
On the project configuration page, you can specify the details of the project, such as the source code management system, build triggers, and build actions. In the GitHub project write your GitHub project repository URL.

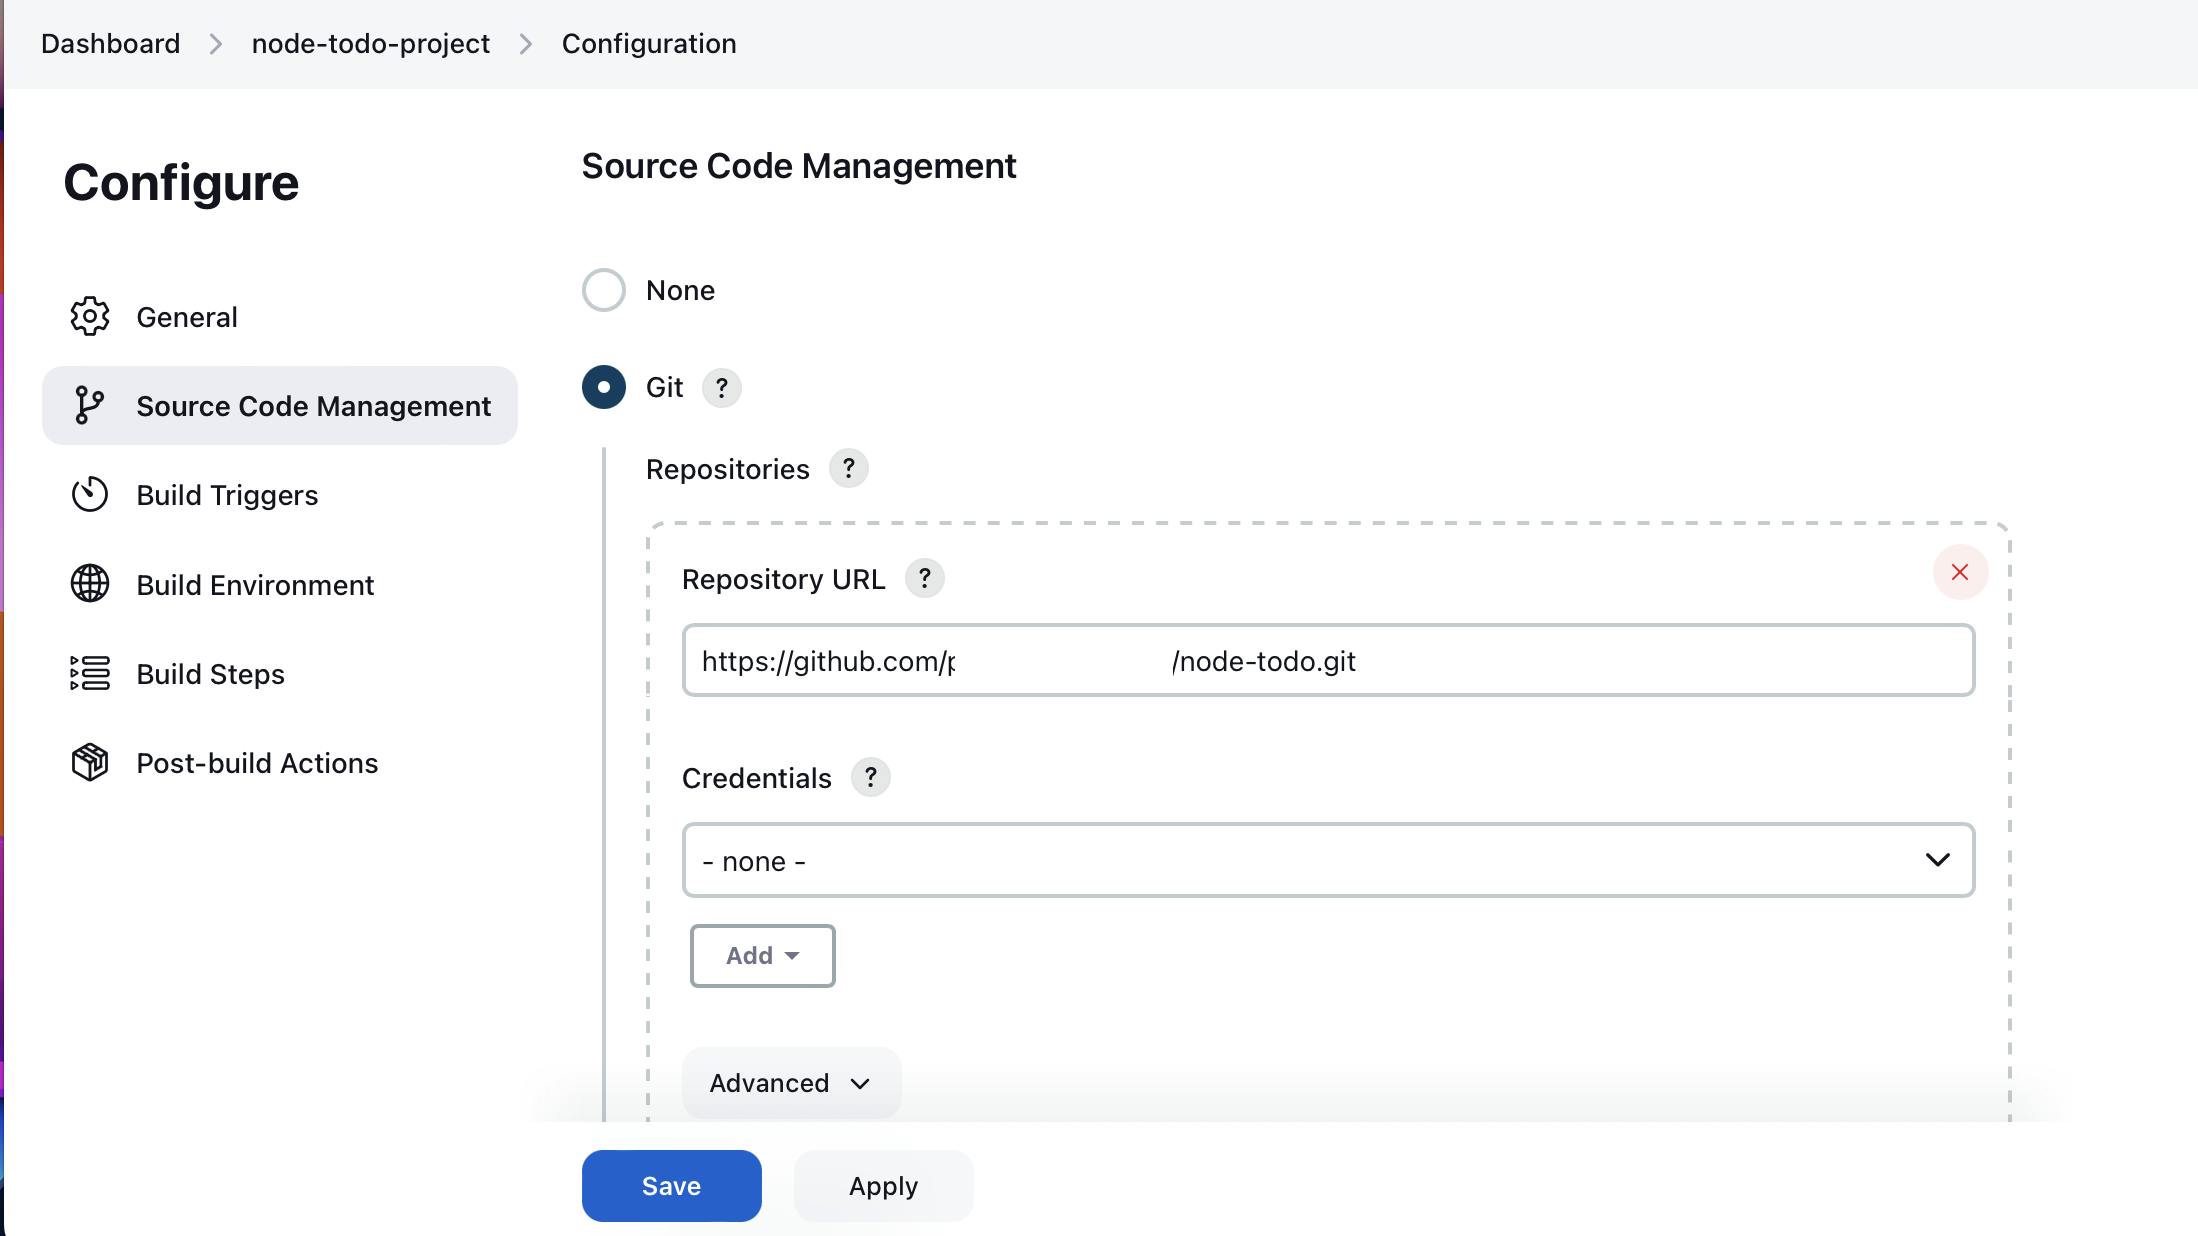
In the "Source Code Management" section, you can specify the repository location, such as Git and Select the branch name "main"

In the "Build" section of the project, add a build step to run the "docker build" command to build the image for the container.

Add a second step to run the "docker run" command to start a container using the image created in step 3.

Click on the "Save" button to save the project configuration.
Build the project: You can manually build the project by clicking on the "Build Now" link on the project's main page. This will start the build process and execute the steps specified in the project configuration.

After a build is completed, you can view the console output by clicking on the "Console Output" link on the build page. This will show the output of the commands that were executed during the build
